小程序获取用户信息的两种方法
- 第一种使用 getUserProfile
- 代码示例
- 第二种使用 头像昵称填写
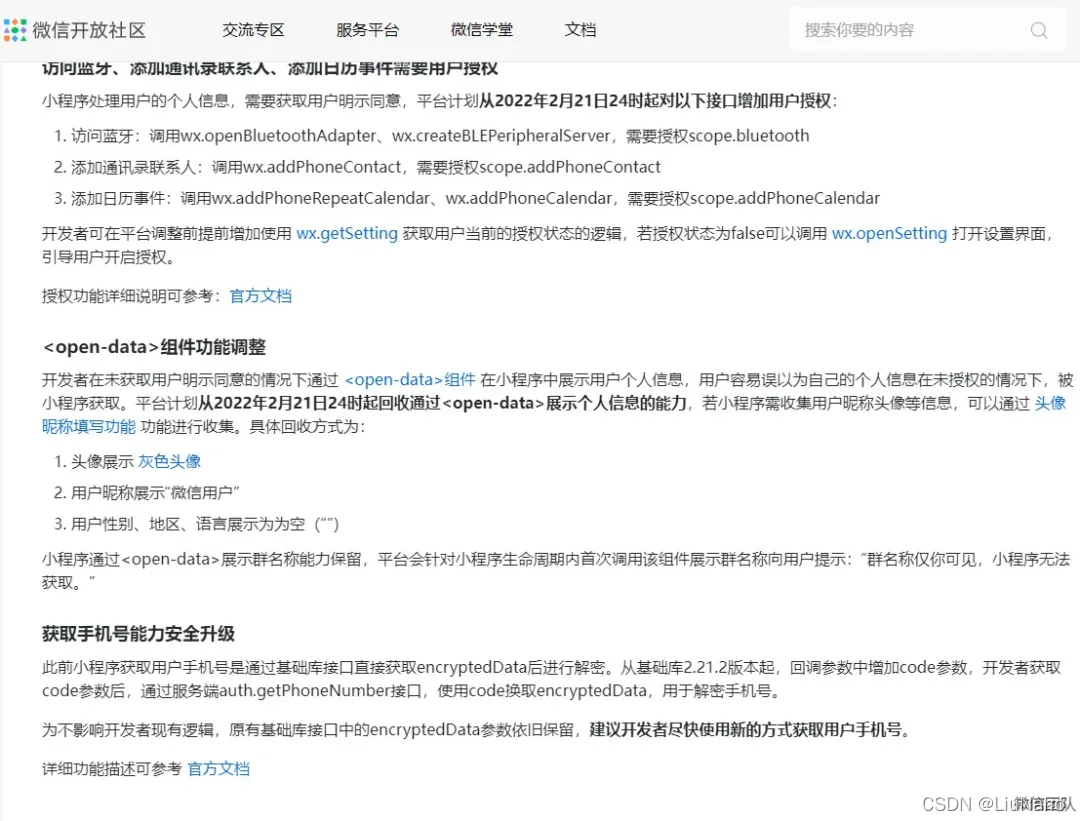
相信大家之前也经常使用open-data获取用户的头像和昵称吧,但微信的这个改编意味着我们要使用新的方法获取信息了。在讨论区引发了很大的讨论,接下来我们一起尝试两种获取信息的方法。
第一种使用 getUserProfile
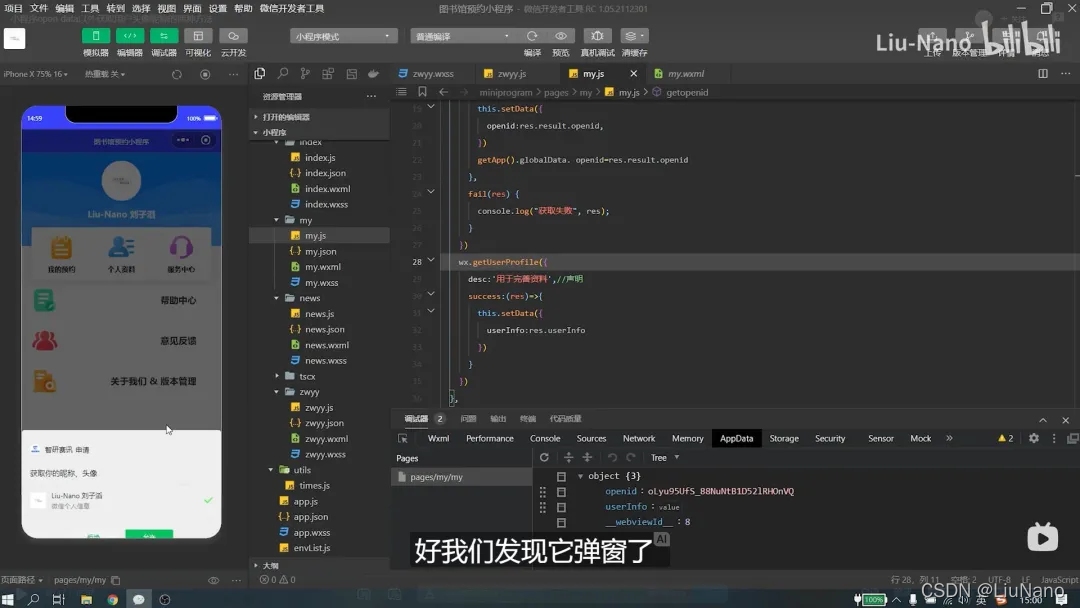
我们可以查看一下官方文档 wx.getUserProfile(Object object),获取用户信息。页面产生点击事件(例如 button 上 bindtap 的回调中)后才可调用,每次请求都会弹出授权窗口,用户同意后返回 userInfo。但要注意每次都需要授权一次是不是很麻烦,我们可以将他保存在我们数据库中授权一次日后直接调用。
代码示例
<view class="container">
  <view class="userinfo">
    <block wx:if="{{!hasUserInfo}}">
      <button wx:if="{{canIUseGetUserProfile}}" bindtap="getUserProfile"> 获取头像昵称 </button>
      <button wx:else open-type="getUserInfo" bindgetuserinfo="getUserInfo"> 获取头像昵称 </button>
    </block>
    <block wx:else>
      <image bindtap="bindViewTap" class="userinfo-avatar" src="{{userInfo.avatarUrl}}" mode="cover"></image>
      <text class="userinfo-nickname">{{userInfo.nickName}}</text>
    </block>
  </view>
</view>
Page({
  data: {
    userInfo: {},
    hasUserInfo: false,
    canIUseGetUserProfile: false,
  },
  onLoad() {
    if (wx.getUserProfile) {
      this.setData({
        canIUseGetUserProfile: true
      })
    }
  },
  getUserProfile(e) {
    wx.getUserProfile({
      desc: '用于完善会员资料', // 声明获取用户个人信息后的用途,后续会展示在弹窗中,请谨慎填写
      success: (res) => {
        this.setData({
          userInfo: res.userInfo,
          hasUserInfo: true
        })
      }
    })
  },
第二种使用 头像昵称填写
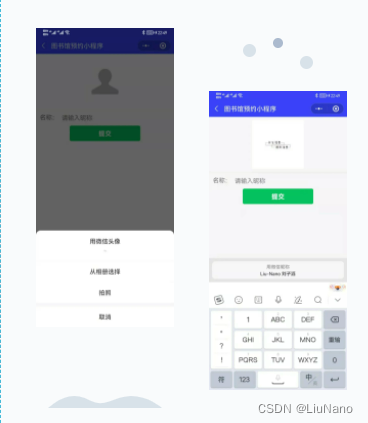
当小程序需要让用户完善个人资料时,可以通过微信提供的头像昵称填写能力快速完善。
头像选择
需要将 button 组件 open-type 的值设置为 chooseAvatar,当用户选择需要使用的头像之后,可以通过 bindchooseavatar 事件回调获取到获取到头像信息的临时路径。
昵称填写
需要将 input 组件 type 的值设置为 nickname,当用户在此input进行输入时,键盘上方会展示微信昵称。
然后我们将他存到数据库,日后直接调用即可!
<button class="avatar-wrapper" open-type="chooseAvatar" bind:chooseavatar="onChooseAvatar">
  <image class="avatar" src="{{avatarUrl}}"></image>
</button>
<input type="nickname" class="weui-input" placeholder="请输入昵称"/>
const defaultAvatarUrl = 'https://mmbiz.qpic.cn/mmbiz/icTdbqWNOwNRna42FI242Lcia07jQodd2FJGIYQfG0LAJGFxM4FbnQP6yfMxBgJ0F3YRqJCJ1aPAK2dQagdusBZg/0'
Page({
  data: {
    avatarUrl: defaultAvatarUrl,
  },
  onChooseAvatar(e) {
    const { avatarUrl } = e.detail
    this.setData({
      avatarUrl,
    })
  }
})
接下来我们要将值进行存储,并上传数据库。我们使用form将数据保存到data里面。
<button class="avatar-wrapper" open-type="chooseAvatar" bind:chooseavatar="onChooseAvatar">
  <image class="avatar" src="{{avatarUrl}}"></image>
</button>
<form catchsubmit="formSubmit">
  <view class="row">
    <view class="text1">名称:</view>
    <input type="nickname" class="weui-input" name="input" placeholder="请输入昵称" />
  </view>
  <button type="primary" style="margin-top:40rpx;margin-bottom:20rpx" formType="submit">提交</button>
</form>
const defaultAvatarUrl = 'https://mmbiz.qpic.cn/mmbiz/icTdbqWNOwNRna42FI242Lcia07jQodd2FJGIYQfG0LAJGFxM4FbnQP6yfMxBgJ0F3YRqJCJ1aPAK2dQagdusBZg/0'
Page({
  /**
   * 页面的初始数据
   */
  data: {
    avatarUrl: defaultAvatarUrl,
    name: '',
  },
  onChooseAvatar(e) {
    const { avatarUrl } = e.detail
    this.setData({
      avatarUrl,
    })
  },
  formSubmit(e) {
    console.log(e.detail.value.input)
    this.setData({
      name: e.detail.value.input
    })
   }
 })
这样我们点击提交时候发现值保存data里面了,接下来我们获取openid,可以参考之前视频哦!这里默认已经将openid保存到app.js里面了!
onLoad: function (options) {
    const app = getApp()
    var userid = app.globalData.openid
    this.setData({
      userid: userid,
    })
  },
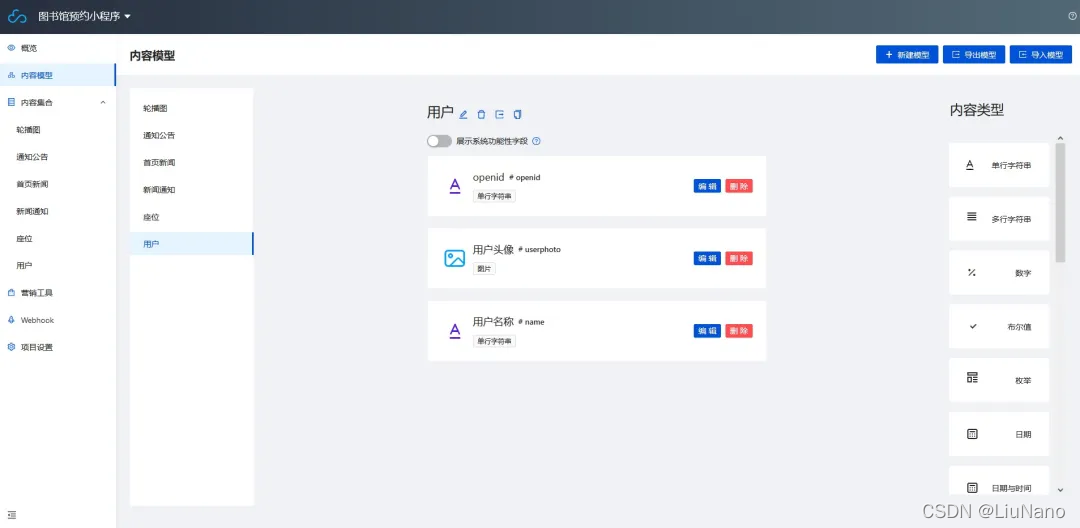
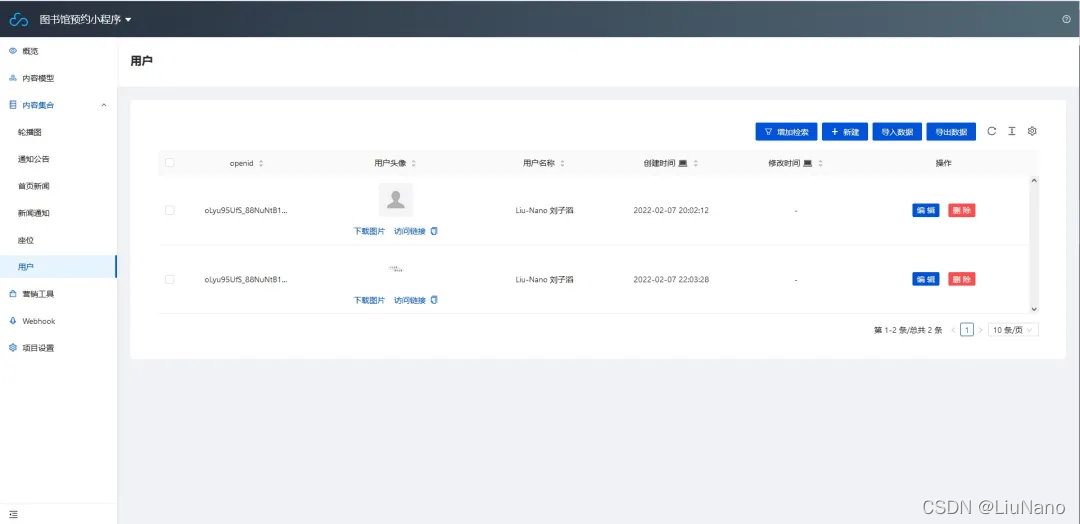
接下来我们上传图片到云开发,然后存到数据库中,这里在cms创建内容模型。
// pages/getuser/getuser.js
const db = wx.cloud.database()
const defaultAvatarUrl = 'https://mmbiz.qpic.cn/mmbiz/icTdbqWNOwNRna42FI242Lcia07jQodd2FJGIYQfG0LAJGFxM4FbnQP6yfMxBgJ0F3YRqJCJ1aPAK2dQagdusBZg/0'
Page({
  /**
   * 页面的初始数据
   */
  data: {
    avatarUrl: defaultAvatarUrl,
    name: '',
    userid: '
',
    userphoto: '
',
    imgrl: '
'
  },
  onChooseAvatar(e) {
    const { avatarUrl } = e.detail
    this.setData({
      avatarUrl,
    })
  },
  formSubmit(e) {
    console.log(e.detail.value.input)
    this.setData({
      name: e.detail.value.input
    })
    var that = this;
        wx.cloud.uploadFile({
          cloudPath: (new Date()).valueOf() + '.png', // 文件名
          filePath: this.data.avatarUrl, // 文件路径
          success: res => {
            // get resource ID
            console.log(res.fileID)
            // 赋值图片
            that.setData({
              imgrl: res.fileID
            })
            that.upload(res.fileID);
          },
          fail: err => {
            // handle error
          }
        })
  },
  upload(filepath){
    console.log(filepath)
    db.collection("user").add({
      data: {
          name:this.data.name,
          openid:this.data.userid,
          userphoto:filepath,
          _createTime: Date.parse(new Date()),
      }
  }).then(res => {
      wx.showToast({
          title: '添加成功',
          icon: 'success',
          duration: 2000
      })
  })
  },
  /**
   * 生命周期函数--监听页面加载
   */
  onLoad: function (options) {
    const app = getApp()
    var userid = app.globalData.openid
    this.setData({
      userid: userid,
    })
  },
})
这样我们就完成了!
视频地址
https://www.bilibili.com/video/BV1zY41157mL?share_source=copy_web