文章目录
- 一、APP微信支付
- APP微信支付总结
- 二、H5微信支付
- (1)普通h5支付
- 普通h5微信支付总结
- (2)微信内置浏览器h5支付
- 微信内置浏览器支付总结
- 总结
一、APP微信支付
效果预览

1、微信那边的配置
1、微信开放平台申请创建APP,并开通微信支付
(1)微信开放平台https://open.weixin.qq.com
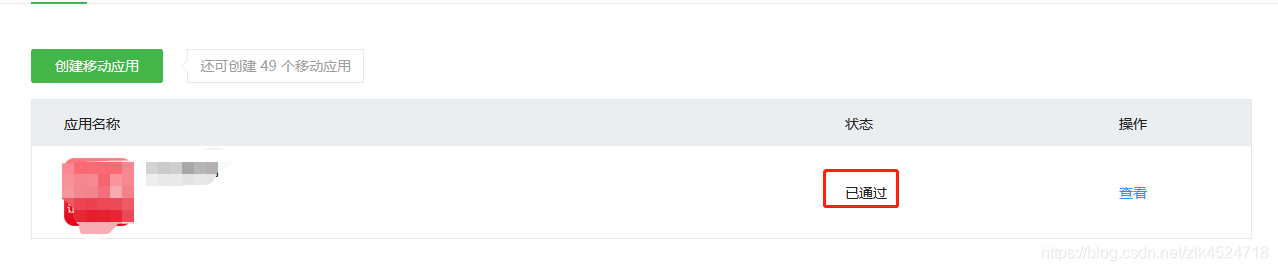 (2)不知道怎么申请和开通的小伙伴去百度一下,已获得支付能力会显示如图的“已获得”,没有微信支付能力的需要点击去申请,按流程进行申请。
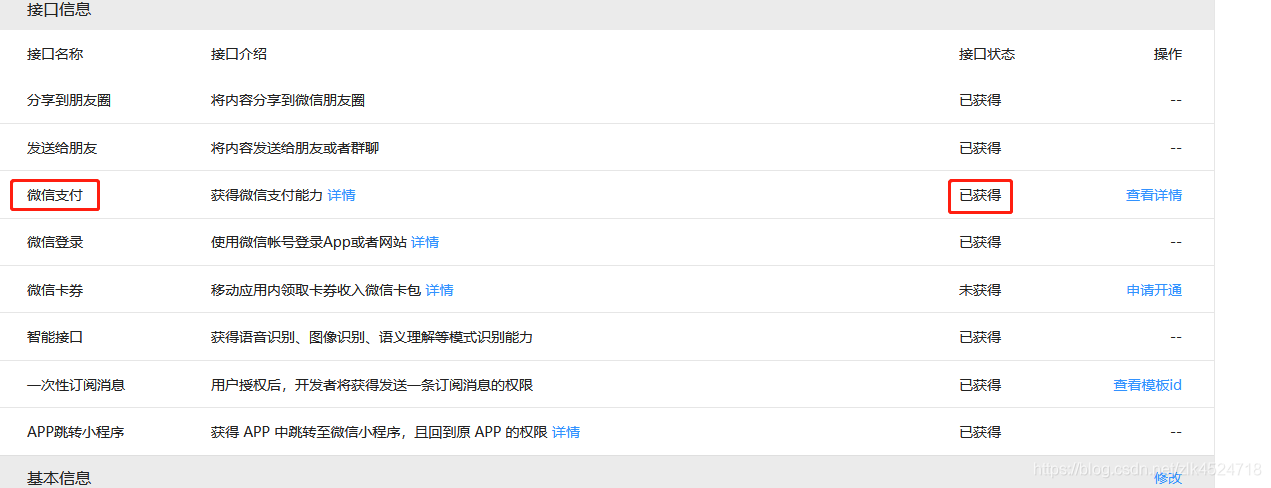
(3)微信支付的APPID是这里申请的APPID,不要和其他的搞混淆了,想微信内置浏览器支付的APPID使用的是微信公众号的APPID。
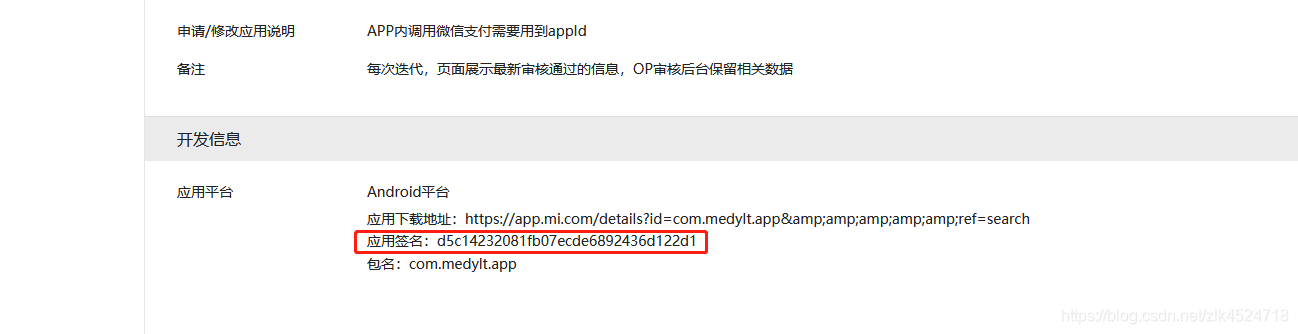
(4)应用签名必须要填写正确,不然找几天也找不到报错原因
下载签名生成工具
https://developers.weixin.qq.com/doc/oplatform/Downloads/Android_Resource.html

(5)安装到手机上,打开后输入app的报名就可以获取了,需要注意的是这个app要是正式打包的才能获取,这个值要填到第三步那里

(6)微信支付操作证书获取可按这个操作流程进行:
https://www.sohu.com/a/234912109_100142931
证书下载下来要存到代码目录里面去,在支付配置的这里要用到

2、微信支付之前就要生成自己的订单了,也就是存在自己服务器的订单。
//每个人的请求方式封装不一样,可忽略this.$u.api...
this.$u.api.submitOrder({
    good_name: _that.bjInfo.name,
    good_id: _that.bjInfo.id,
    user_id: _that.userId,
    address_id: _that.addressInfo.id,
    total: _that.bjInfo.price,
    paymethod: _that.isWechat ? 0 : 1,
    buyType: _that.buyType,
}).then(res => {
    console.log(res)
    //这里自己的订单生成成功了,可以调用微信支付了,把下面的微信支付代码封装到一个方法里面在这里调用即可

    //#endif

}).catch(err => {
    this.$refs.uToast.show({
        title: err.data.msg,
    })
    console.log(err)
})
console.log('微信支付')
//第一步调用后台微信支付接口,一般传参是三个out_trade_no、good_name、total_fee
//这个接口返回所有前端唤起微信支付的所有参数
/**前端需要的参数
let obj = {
		appid: '',
		noncestr: '',
		package: '', // 固定值,以微信支付文档为主
		partnerid: '',
		prepayid: '',
		timestamp: '',
		sign: '' // 根据签名算法生成签名
	};
**/
_that.$u.api.wxPay({
	out_trade_no: order.out_trade_no,
	good_name: order.good_name,
	total_fee: order.total_fee,
}).then(res => {
	console.log(res)
	let obj = {
		appid: res.data.appid,
		noncestr: res.data.noncestr,
		package: res.data.package, // 固定值,以微信支付文档为主
		partnerid: res.data.partnerid,
		prepayid: res.data.prepayid,
		timestamp: res.data.timestamp,
		sign: res.data.sign // 根据签名算法生成签名
	};

	let orderInfo = JSON.stringify(obj);
	// console.log(orderInfo);
	console.log(orderInfo);
	uni.requestPayment({
		provider: 'wxpay',
		orderInfo: orderInfo, //微信、支付宝订单数据
		success: res => {
		_that.editOrderStatus(order);

	},
	fail: function(err) {
		_that.$u.route('/pages/payresult/payresult', {
		out_trade_no: order.out_trade_no
	})
	console.log('fail:' + JSON.stringify(err));
}
});
3、我的后端是TP6,我选的插件是Yansongdapay
我安装的是2版本,3版本我看作者还在更新,就没用,安装代码如下:
composer require yansongda/pay:~v2.10.2 -vvv
<?php

declare(strict_types=1);

namespace appwebsitcontroller;

use thinkfacadeCache;
use thinkfacadeView;
use thinkfacadeSession;
use thinkfacadeLog;
use appwebsitBaseController;
use thinkexceptionHandle;
use YansongdaPayPay;
use thinkfacadeDb;
use thinkfacadeConfig;

class Wxpay extends BaseController
{

    public function submitOrder()
    {
        if ($this->request->isPost()) {
           //对应上面第一步先创建自己的订单存起来,具体逻辑自己写一下
        } else {
            vae_assign(202, "ERROR");
        }
    }
    //这个方法就是微信支付会返回的所有参数就在这里返回,
    public function index()
    {
    	//防止跨域
        header('Access-Control-Allow-Origin: *');
        header('Access-Control-Max-Age: 1800');
        header('Access-Control-Allow-Methods: GET, POST, PATCH, PUT, DELETE');
        header('Access-Control-Allow-Headers: Authorization, Content-Type, If-Match, If-Modified-Since, If-None-Match, If-Unmodified-Since, X-CSRF-TOKEN, X-Requested-With, Token');
        if ($this->request->isPost()) {
        //配置文件最好单独配置出去,我这里放进来是为了方便演示查看
            $config = [
				    'appid' => 'wxb3fxxxxxxxxxxx', // APP APPID
				    'app_id' => 'wxb3fxxxxxxxxxxx', // 公众号 APPID
				    'miniapp_id' => 'wxb3fxxxxxxxxxxx', // 小程序 APPID
				    'mch_id' => '145776xxxx',
				    'key' => 'mF2suE9sU6Mk1CxxxxIxxxxx',
				    'notify_url' => 'http://yanda.net.cn',
				    'cert_client' => './cert/apiclient_cert.pem', // optional, 退款,红包等情况时需要用到
				    'cert_key' => './cert/apiclient_key.pem',// optional, 退款,红包等情况时需要用到
				    'log' => [ // optional
				        'file' => './logs/wechat.log',
				        'level' => 'info', // 建议生产环境等级调整为 info,开发环境为 debug
				        'type' => 'single', // optional, 可选 daily.
				        'max_file' => 30, // optional, 当 type 为 daily 时有效,默认 30 天
				    ],
				    'http' => [ // optional
				        'timeout' => 5.0,
				        'connect_timeout' => 5.0,
				        // 更多配置项请参考 [Guzzle](https://guzzle-cn.readthedocs.io/zh_CN/latest/request-options.html)
				    ],
				    'mode' => 'normal',//这个参数有点重要
				];
            $params = $this->param;
            // $total = floatval($amount);
            // print_r($config);
            $order = [
                'out_trade_no' => $params['out_trade_no'],
                'body' => $params['good_name'],
                'total_fee' => $params['total_fee'] * 100, //
            ];

            $wechat = Pay::wechat($config)->app($order)->send();

            // $res = $alipay->send();// laravel 框架中请直接 `return $alipay`
        } else {
            vae_assign(202, "ERROR");
        }
    }

}
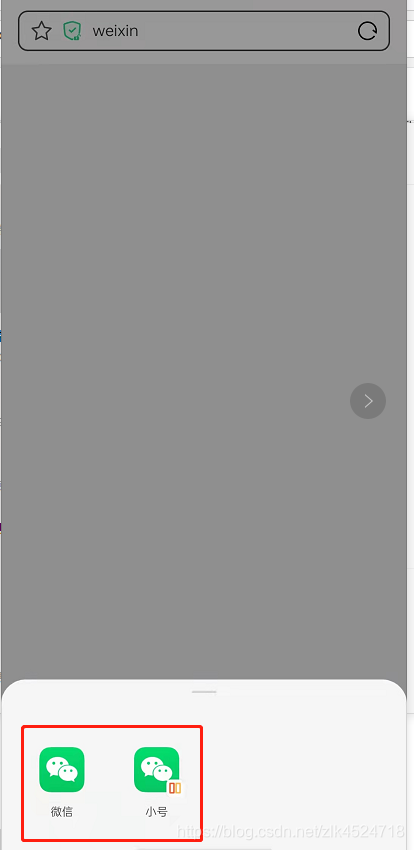
按以上操作流程做完,基本上可以成功唤起微信支付了,如果不行的话记得换一个手机尝试,很有可能会成功。
APP微信支付总结
大部分不成功的原因都是配置不正确,一定要多次检查配置参数,一个是自己的配置文件,另一个是微信开放平台以及微信支付官网的各种配置,错一个都要查几天,所以仔细核查是最同意解决问题的办法。
二、H5微信支付
(1)普通h5支付
要能正常唤起微信支付才算成功
1、第一步:微信支付官网,进行配置合法域名
2、前端公用上面的生成自己的订单代码,自己的也就是保存到自己数据库的订单,而支付的时候需要把这个订单号给微信那边就可以了,我这里直接调用支付接口,默认已经生成好了订单信息。
调用后端接口代码如下:
console.log('微信支付')
_that.$u.api.wxPayh5({
		out_trade_no: order.out_trade_no,
		good_name: order.good_name,
		total_fee: order.total_fee,
	}).then(res => {
		console.log(res)
		let redirect_url = window.location.href;
		// let redirect_url = url+'&checkpay=true';
		// console.log(res.data.replace(/n/g,"")+'&redirect_url='+encodeURI(redirect_url));
	//标记用户是否点击过微信支付,不管支付成不成功
	 uni.setStorage({
		key: 'checkpay',
				data: true,
				success: function() {
				//去掉返回值中的换行符号再跳转
				window.location.href = res.data.replace(/n/g, "") + '&redirect_url=' +
						encodeURI(redirect_url)
				}
			})
			console.log(order)

		}).catch(err => {
		console.log(err)
})
注意:微信h5支付需要后端返回一个跳转链接,而微信h5支付是没法通过这个链接获得用户支付结果的,需要主动去查询,就是这里跳转了之后就管他的了,支付状态需要再次请求,还应注意redirect_url这个参数,是支付后返回的地址,需要和JSPAPI的域名属于同一个域名才行。
请仔细阅读这篇文档:https://pay.weixin.qq.com/wiki/doc/api/wxpay_v2/develop/chapter2_26.shtml

后端接口代码:使用的依然是Yansongda Pay
    public function wxpayh5()
    {
        header('Access-Control-Allow-Origin: *');
        header('Access-Control-Max-Age: 1800');
        header('Access-Control-Allow-Methods: GET, POST, PATCH, PUT, DELETE');
        header('Access-Control-Allow-Headers: Authorization, Content-Type, If-Match, If-Modified-Since, If-None-Match, If-Unmodified-Since, X-CSRF-TOKEN, X-Requested-With, Token');

        $config = Config::get('wechat');
        $params = $this->param;
        $order = [
            'out_trade_no' => $params['out_trade_no'],
            'body' => $params['good_name'],
            'total_fee' => $params['total_fee'] * 100, //
        ];

        return Pay::wechat($config)->wap($order)->send();// laravel 框架中请直接 `return $alipay`

    }
3、如果上面的步骤都不出错,我们能唤起微信支付并返回到支付页面,这时候再去请求查看是否支付成功。
前端请求代码:
//这个接口需要后端判断支付接口并修改订单状态,
//有些人是在notify进行操作,我是直接查询结果,有了就改订单状态省事儿
_that.$u.api.wxpayh5queryorder({
			out_trade_no: _that.order.out_trade_no,
			buyType: _that.order.good_type,
			user_id: _that.order.user_id,
			price: _that.order.total_fee,
			good_id: _that.order.good_id,
		}).then(res => {
			console.log(res);
			uni.removeStorage({
			key: 'checkpay',
			success: () => {
			//去结果页就好了
			_that.$u.route('/pages/payresult/payresult', {
				out_trade_no: _that.order.out_trade_no
			})


		}
	})

	}).catch(err => {
		console.log(err);
    })
后端代码:
   public function wxpayh5queryorder()
    {
        $config = Config::get('wechat');
        $params = $this->param;

        $order = [
            'out_trade_no' => $params['out_trade_no'],
        ];
        // $order = '1514027114';

        $result = Pay::wechat($config)->find($order);
        if($result->trade_state =='SUCCESS'){

           /* if ($params['buyType'] == 'bj') {
                vae_stuopenbj($params);
            }*/
            //修改订单状态
            if (!empty(Db::name('order')->where(['user_id' => $params['user_id'], 'out_trade_no' => $params['out_trade_no']])->update(['status' => 1]))) {
                vae_assign(200, "OK");
            }

            // vae_assign(200, '支付成功');
        }
        vae_assign(200, '支付失败',[$result]);
    }
普通h5微信支付总结
走到这里流程是基本走完了,不出意外就成功了,大部分人会卡在唤起微信支付的过程,看微信支付怎么提示的。
1、手机浏览器进行调试。
2、需要部署到正式环境进行调试。
3、需要确认JSPAPI配置是否正确。
微信普通h5支付还是挺简单的,比起支付宝的话,支付宝h5支付之后文章会更新。
(2)微信内置浏览器h5支付
微信内置浏览器支付与普通h5支付的区别
1、微信内置浏览器支付需要使用公众号支付而不是普通的JSAPI支付。
2、支付的时候后端需要用到openid。
获取openid需要由前端获取code然后后端提供接口换取openid,几年前我做小程序的时候跟后端扯半天搞不懂openid的来源,说白了就是前端先用code调用后端接口(接口由后端提供)换取openid,用户openid唯一,可直接持久化,然后支付的时候再把openid给后端,前端只需要提供code就行,下面会讲前端怎么获取code。
3、微信内置浏览器提供了唤起微信支付的方法,提供参数即可,不用像普通h5那样跳转。
4、微信公众号域名授权。
微信网页授权的的步骤:
进入微信公众平台——公众号设置——功能设置中找到“网页授权域名”,在这里填写我们部署的项目的域名。
在填写域名之前我们可以看到有一个txt文件,我们需要先把这个文件放置在项目部署的域名根目录下,记住是根目录。然后填写我们项目部署的服务器的域名,这里的域名记住不要加http或者https,而且微信公众号的网页授权域名必须是80或者443端口,一定要仔细看文档,填写的时候看说明。
获取openid前端部分
   //进入页面直接询问一下有没有code
   //没有就去请求
	onLoad(options){
	let code = _that.getQueryVariable('code');
		if (!code) {
		//请求参数:redirect_uri = https://xx.xx.xx/pages/checkout/checkout/
		//appid:wx111111111111(公众号的appid)
		//scope=snsapi_base 只要openid 不要其他信息,如果要其他信息要复杂一些
		window.location.href =
		'https://open.weixin.qq.com/connect/oauth2/authorize?appid=wx111111111111&redirect_uri=这里填你需要把code返回的地址&response_type=code&scope=snsapi_base&state=123#wechat_redirect';
	}
	_that.code = code
	_that.getopenid(code);
	},
	methods:{
		getopenid(code) {
				let _that = this;
				//这就是所说的用code换openid
				_that.$u.api.getOpenId({
					user_id: _that.userId,
					code: code
				}).then(res => {
					uni.setStorage({
						key:'uerInfo',
						data:res,
						success() {
							window.reload();
						}
					})

				}).catch(err => {
					console.log(err)
				})
		},
	}
获取openid后端代码
 public function getOpenId()
    {
        if ($this->request->isPost()) {
            $params = $this->param;
            //参数1:appid-公众号的appid
            //参数2:secret 公众号的secret
            //不知道怎么查看的自己百度一下
            $url = 'https://api.weixin.qq.com/sns/oauth2/access_token?appid=xxx&secret=xxx&code='.$params['code'].'&grant_type=authorization_code';


            $result =json_decode(file_get_contents($url));
            vae_assign(200, "成功",[$result]);
            if(!empty($result->openid)){
            //我这里直接保存下来了,之后就捕获去了
                $user = Db::name('user')->where('id',$params['user_id'])->strict(false)->update(['openid'=>$result->openid]);
                if(empty($user)){
                    vae_assign(202, "修改用户openid失败");
                }
                $user_success = Db::name('user')->find(['id' => $params['user_id']]);
                vae_assign(200, "成功",$user_success);
            }
            vae_assign(202, "获取openid失败",[$result]);
        } else {
            vae_assign(202, "ERROR");
        }
    }
上面的步骤完成后就拿到了openid,接下来又是重复的步骤了
1、先生成自己的订单,这一步不可少,方式上面写两遍了,返回查看。
2、调用后端接口,返回支付时所需要的参数:
startPayJSAPI(order) {
let _that = this;
_that.$u.api.wxPayWap({
out_trade_no: order.out_trade_no,
good_name: order.good_name


