文章目录
- 说明
- 认证流程
- 授权流程(四种方式)
- 1.授权码模式(Authorization Code)
- 2.简化模式(Implicit)
- 3.密码模式(Resource Owner Password Credentials)
- 4.客户端模式(Client Credentials)
- 搭建 sprinboot-springSecurity-oauth2
- 1.创建认证配置类(AuthorizationServerConfig)
- 2.配置说明
- 3.创建SpringSecurityConfig
- 三 认证授权服务
- 1.授权认证模式
- 修改AuthorizationServerConfig类
- 过程
- 2.简化授权模式
- 修改AuthorizationServerConfig类
- 过程
- 客户端模式
- 修改AuthorizationServerConfig类
- 过程
- 4.密码模式
- 修改SpringSecurityConfig类
- 修改AuthorizationServerConfig类
- 过程
说明
Oauth2.0是目前流行的授权机制,用于授权第三方应用,获取数据。
认证流程

授权流程(四种方式)
1.授权码模式(Authorization Code)
说明:正宗的oauth模式,先获取授权码,在通过授权码获取token

2.简化模式(Implicit)
说明 :和授权模式相比取消了授权过程,直接获取token

3.密码模式(Resource Owner Password Credentials)
说明:客户端直接向用户获取账号密码(不安全),之后向授权服务器获取token

4.客户端模式(Client Credentials)
说明:客户端直接通过客户端认证(比如client_id和client_secret)从认证服务器获取访问令牌。

搭建 sprinboot-springSecurity-oauth2
过程:网上教程很多这边就不多累述了
1.创建认证配置类(AuthorizationServerConfig)
继承于:AuthorizationServerConfigurerAdapter
@Configuration
@EnableAuthorizationServer // 启用授权服务器
public class AuthorizationServerConfig  extends AuthorizationServerConfigurerAdapter {

    //配置授权服务器的客户端详情
    @Override
    public void configure(ClientDetailsServiceConfigurer clients) throws Exception {

    }
}
2.配置说明
- scopes:授权范围标识,比如指定微服务名称,则只可以访问指定的微服务
- autoApprove:false跳转到授权页面手动点击授权,true不需要手动授权,直接响应授权码
- redirectUris:当获取授权码后,认证服务器会重定向到指定的这个URL,并且带着一个授权码code响应。
- withClient:允许访问此认证服务器的客户端ID
- secret:客户端密码,加密存储
- authorizedGrantTypes:授权类型,支持同时多种授权类型
- authorization_code:授权模式
- implicit:隐式授权模式(简化模式)
- password:密码模式
- client_credentials:客户端模式
- refresh_token:刷新令牌模式(只有在授权模式或者密码模式才会生效)
- accessTokenValiditySeconds :token有效时间(单位毫秒)
- refreshTokenValiditySeconds:刷新token有效期(单位毫秒)
3.创建SpringSecurityConfig
继承于WebSecurityConfigurerAdapter
/**
 * TODO  springSecurity 配置类
 **/
@Configuration
public class SpringSecurityConfig extends WebSecurityConfigurerAdapter {

    //配置加密
    @Bean
    public PasswordEncoder passwordEncoder(){
        return new BCryptPasswordEncoder();
    }

    //配置过滤
    @Override
    protected void configure(HttpSecurity http) throws Exception {
        http.cors().disable()//禁用跨域
                .authorizeRequests()//配置权限
                .antMatchers("/oauth/**").permitAll()//oauth接口全部允许访问
                .anyRequest().authenticated()//其他接口需要认证
                .and()
                .formLogin().permitAll();//放行登录接口(表单)
    }
}
三 认证授权服务
1.授权认证模式
修改AuthorizationServerConfig类
@Configuration
@EnableAuthorizationServer // 启用授权服务器
public class AuthorizationServerConfig  extends AuthorizationServerConfigurerAdapter {

    @Autowired
    private PasswordEncoder passwordEncoder;
    //配置授权服务器的客户端详情
    @Override
    public void configure(ClientDetailsServiceConfigurer clients) throws Exception {

        clients.inMemory()
                .withClient("admin")// 客户端id
                .secret(passwordEncoder.encode("123456"))// 客户端密码
                .redirectUris("http://www.baidu.com")// 客户端重定向地址
                .scopes("all")// 客户端授权范围
                .authorities("all")// 客户端权限
                .authorizedGrantTypes("authorization_code","refresh_token")// 客户端授权类型
                .autoApprove(true)// 是否自动授权
                .accessTokenValiditySeconds(3600)// token有效期
                .refreshTokenValiditySeconds(3600);// 刷新token有效期

    }
}
过程
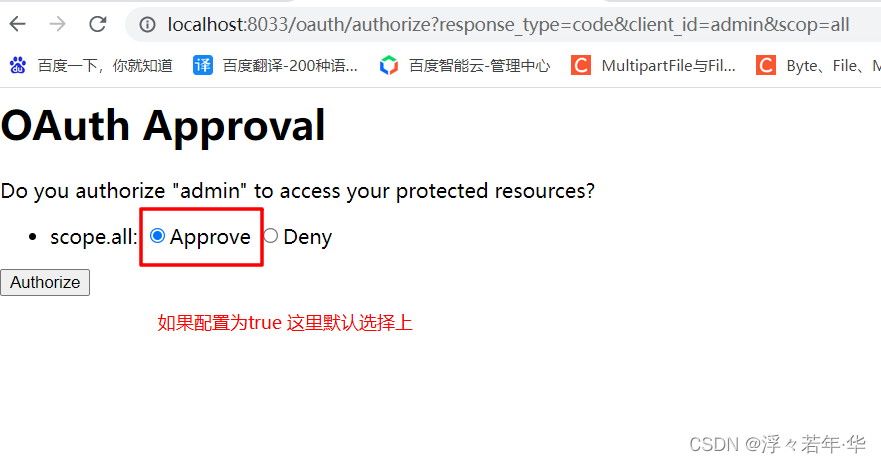
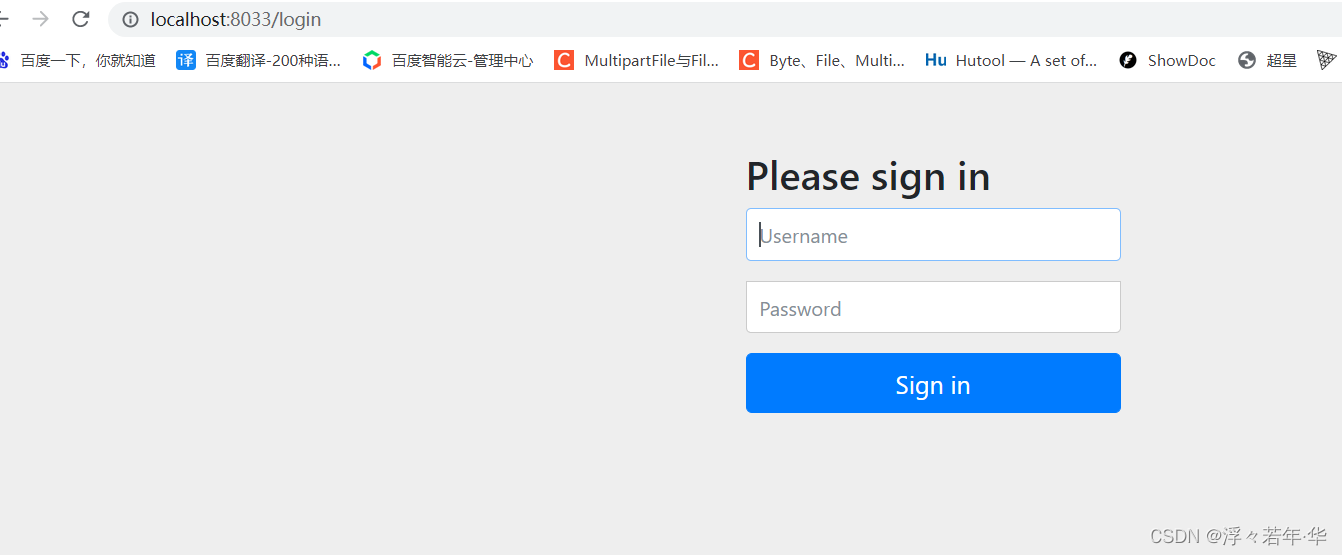
1.访问地址(申请授权码):http://localhost:8033/oauth/authorize?response_type=code&client_id=admin&scop=all
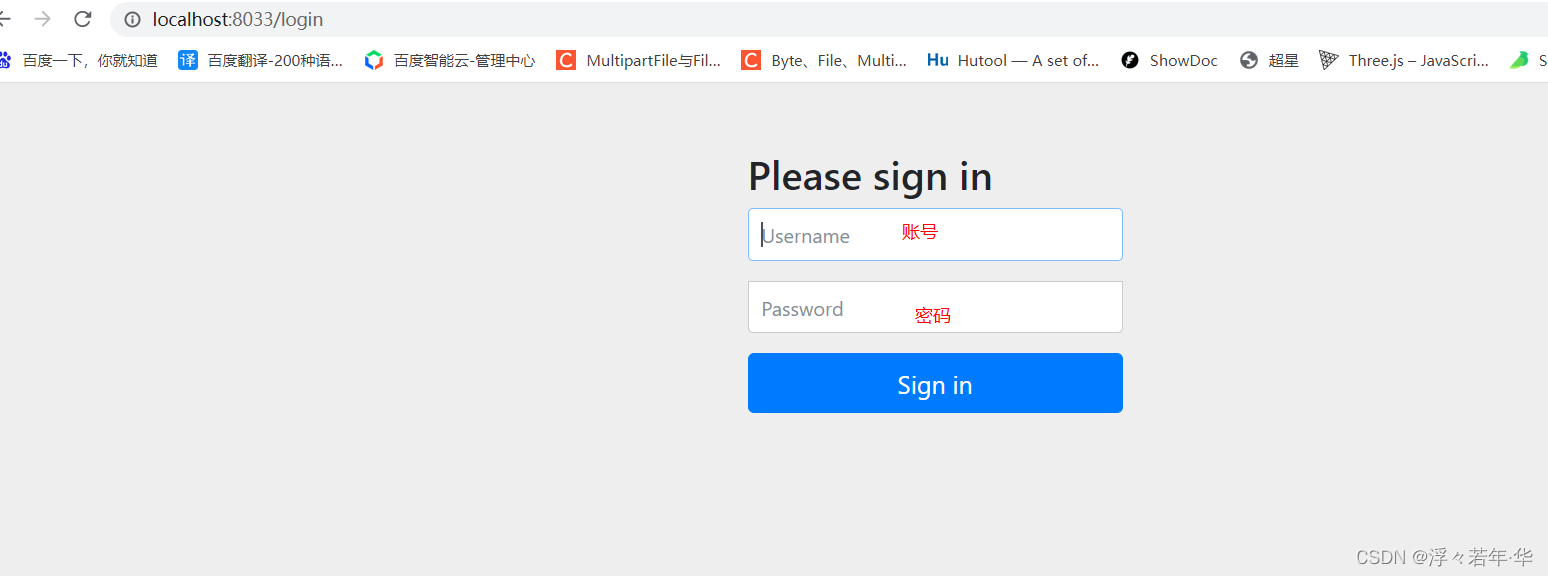
涉及类org.springframework.security.oauth2.provider.endpoint.AuthorizationEndpoint
当请求到达授权中心AuthorizationEndpoint后,授权中心会要求资源所有者进行身份验证
这里配置了 .autoApprove(true)// 是否自动授权 所以客户端不用再重新授权
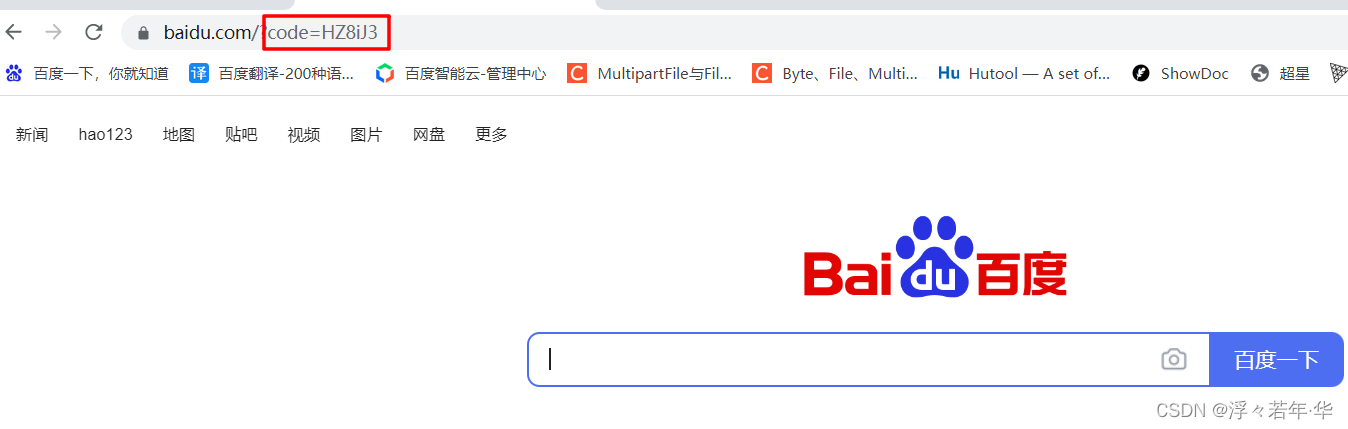
2.拿到code值(HZ8iJ3)由于配置重点向到http://www.baidu.com
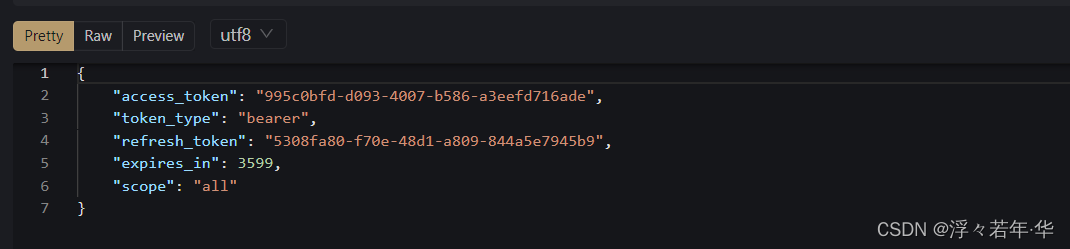
3.通过code值换token
请求地址:http://localhost:8033/oauth/token
参数配置
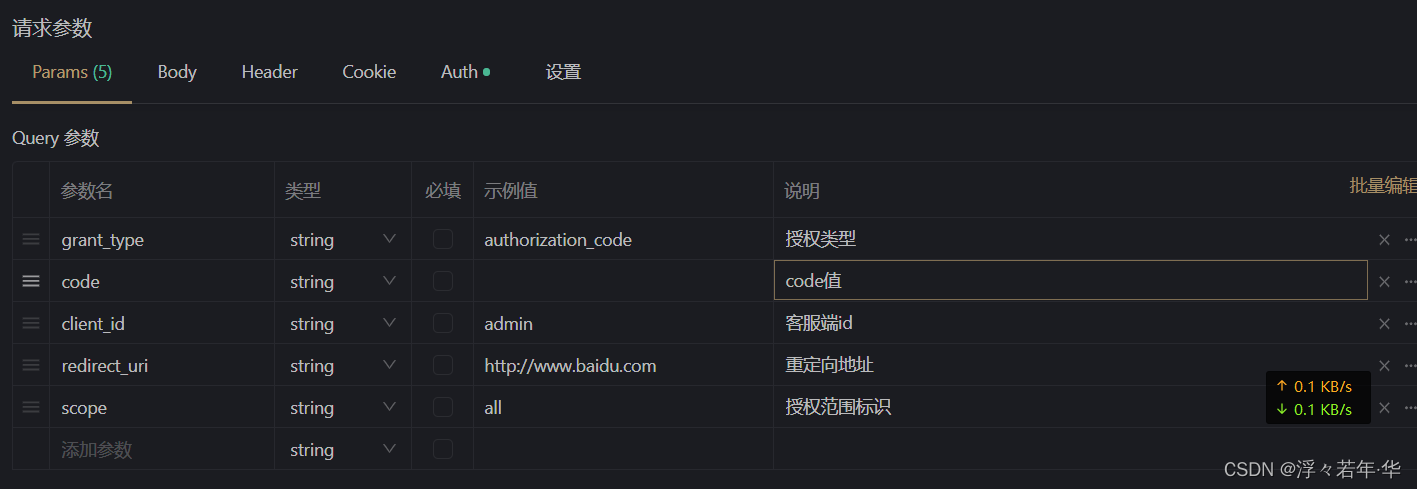
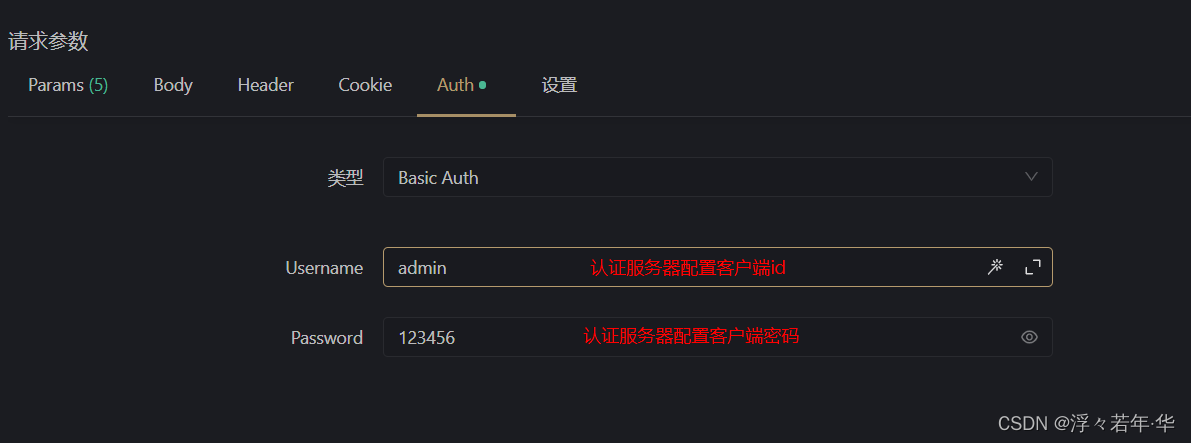
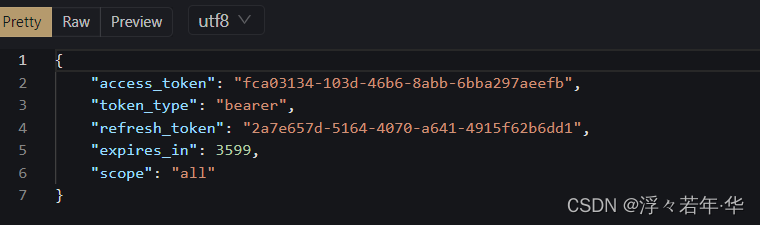
结果
2.简化授权模式
修改AuthorizationServerConfig类
@Configuration
@EnableAuthorizationServer // 启用授权服务器
public class AuthorizationServerConfig  extends AuthorizationServerConfigurerAdapter {

    @Autowired
    private PasswordEncoder passwordEncoder;
    //配置授权服务器的客户端详情
    @Override
    public void configure(ClientDetailsServiceConfigurer clients) throws Exception {

        clients.inMemory()
                .withClient("admin")// 客户端id
                .secret(passwordEncoder.encode("123456"))// 客户端密码
                .redirectUris("http://www.baidu.com")// 客户端重定向地址
                .scopes("all")// 客户端授权范围
                .authorities("all")// 客户端权限
                .authorizedGrantTypes("implicit")// 客户端授权类型
                .autoApprove(true)// 是否自动授权
                .accessTokenValiditySeconds(3600)// token有效期
                .refreshTokenValiditySeconds(3600);// 刷新token有效期

    }
}
过程
地址(申请token):http://localhost:8033/oauth/authorize?response_type=token&client_id=admin&scop=all
点击登录以后,会跳转到指定的redirect_uri,回调路径会,回调路径携带着令牌 access_token 、 expires_in 、 scope 等 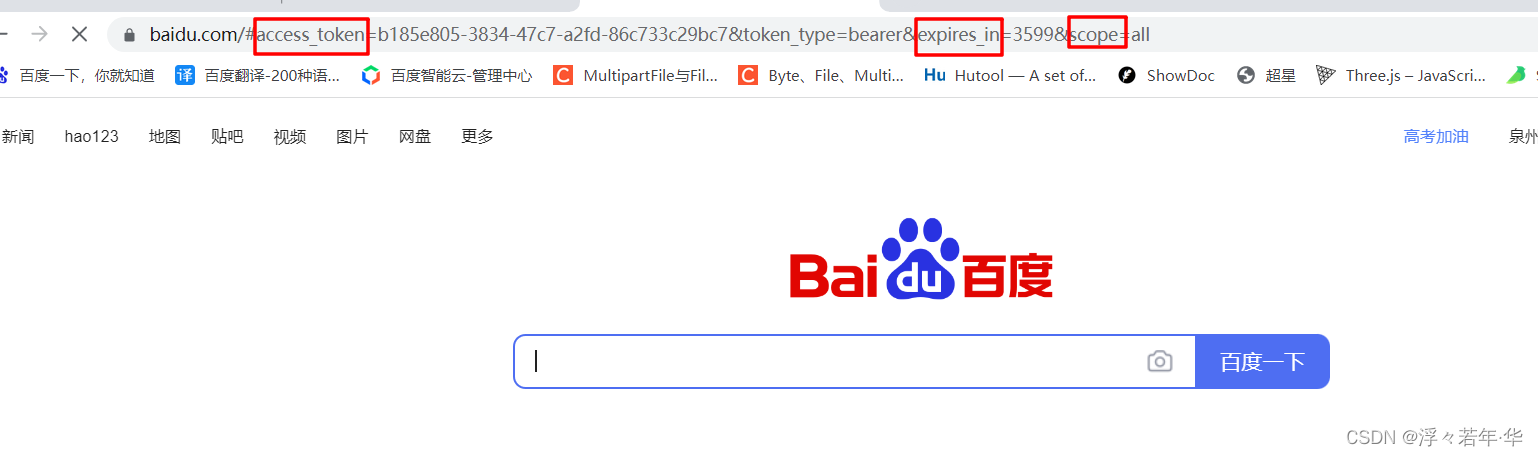
客户端模式
修改AuthorizationServerConfig类
@Configuration
@EnableAuthorizationServer // 启用授权服务器
public class AuthorizationServerConfig  extends AuthorizationServerConfigurerAdapter {

    @Autowired
    private PasswordEncoder passwordEncoder;
    //配置授权服务器的客户端详情
    @Override
    public void configure(ClientDetailsServiceConfigurer clients) throws Exception {

        clients.inMemory()
                .withClient("admin")// 客户端id
                .secret(passwordEncoder.encode("123456"))// 客户端密码
                .redirectUris("http://www.baidu.com")// 客户端重定向地址
                .scopes("all")// 客户端授权范围
                .authorities("all")// 客户端权限
                .authorizedGrantTypes("client_credentials")// 客户端授权类型
                .autoApprove(true)// 是否自动授权
                .accessTokenValiditySeconds(3600)// token有效期
                .refreshTokenValiditySeconds(3600);// 刷新token有效期

    }
}
过程
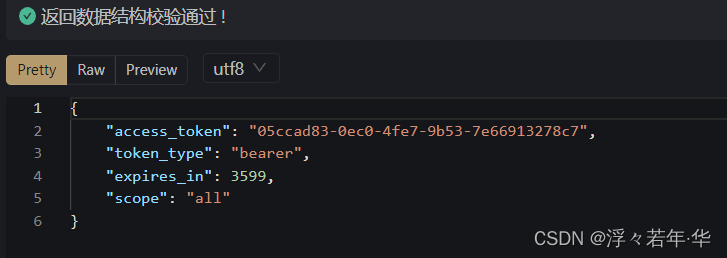
访问地址http://localhost:8033/oauth/token
参数配置

结果:
4.密码模式
修改SpringSecurityConfig类
添加
/**
     * TODO pass模式要使用此认证管理器
     * @return
     * @throws Exception
     */
    @Bean
    @Override
    public AuthenticationManager authenticationManagerBean() throws Exception {
        return super.authenticationManagerBean();
    }
修改AuthorizationServerConfig类
@Configuration
@EnableAuthorizationServer // 启用授权服务器
public class AuthorizationServerConfig  extends AuthorizationServerConfigurerAdapter {

    @Autowired
    private PasswordEncoder passwordEncoder;

    @Autowired
    private AuthenticationManager authenticationManager;

    //授权服务器端点配置
    @Override
    public void configure(AuthorizationServerEndpointsConfigurer endpoints) throws Exception {
        //配置密码编码器
        endpoints.authenticationManager(authenticationManager);
    }

    //配置授权服务器的客户端详情
    @Override
    public void configure(ClientDetailsServiceConfigurer clients) throws Exception {

        clients.inMemory()
                .withClient("admin")// 客户端id
                .secret(passwordEncoder.encode("123456"))// 客户端密码
                .redirectUris("http://www.baidu.com")// 客户端重定向地址
                .scopes("all")// 客户端授权范围
                .authorities("all")// 客户端权限
                .authorizedGrantTypes("password","refresh_token")// 客户端授权类型
                .autoApprove(true)// 是否自动授权
                .accessTokenValiditySeconds(3600)// token有效期
                .refreshTokenValiditySeconds(3600);// 刷新token有效期
    }
}
过程
访问地址http://localhost:8033/oauth/token
参数配置
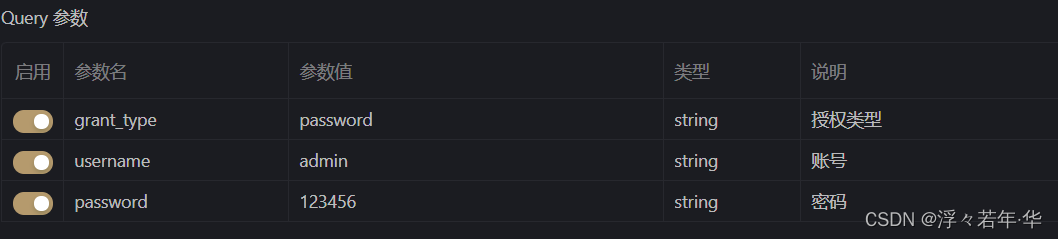
结果